Showing posts with label birthday cards. Show all posts

Monday, 27 March 2017

Freshly Made Sketches #280


Good morning, crafty friends.

I've been working on spring birthday cards and was inspired by a YouTube video from Jennifer McGuire this week, as well as the current Freshly Made Sketch:
Jennifer was doing some ink-swiping with balloons. They certainly say "celebration," perfect for my 15-year-old niece's birthday (not too cutesy). The only balloon stamps I had were not big enough in scale for this sketch, so I decided to use patterned paper instead. I free-hand drew the balloons onto the paper with a coloured pencil and cut them out.
Then I popped the one in front up with a spring, for dimension and playfulness.
I used a well-loved Cuttlebug embossing folder for the background, which also serves as the sentiment. Some twine tied to the balloons completes this simple card.

Stop by the Freshly Made Sketches blog for some more inspiration!

Have a crafty week,
Caroline

Supplies:

Card stock: Close to My Heart white daisy; patterned paper from retired Magical paper pack
Embossing folder: Happy Birthday from Provocraft/Cuttlebug
Twine: Michael's
Ink:  Derwent Inktense watercolor pencil
Spring: Close to My Heart


Wednesday, 25 March 2015

Birthday Cards

I've been following the newest Online Card Class: Stretch Your Dies.
Lots of great ideas! They inspired me to get caught up on my family birthday card stash. Don't worry, the intended recipients do not read my blog!

Here's the first:
Beautiful Bokeh background with Distress Inks and white pigment ink, plus home-made circle stencil. Then, those lucious-looking letters! These were inspired by Jennifer McGuire. The letters were white card-stock, cut with Avery Elle alpha dies, coloured with Distress Markers and inks to match the card, glossed with Wink of Stella, then covered with Liquid Glass for that shimmery, shiny effect.

Next up, one for my niece. This card is a shameless CASE of Laura Bassen. I used my rubber embossing mats to make the Polaroid impression with a Lil' Inker's die.  I masked off the edge, and stamped a photo-bomb scene, using Paper Smooches Chubby Chum Pals. Those were coloured with Copic Markers.
For the sentiment, I blended two Copic colours from the scene above, then die-cut the letters from Paper Smooches Sassy Script.
I tried a couple different colour combos before deciding on the blue and brown. Lining the dies up with washi tape helped keep them straight, even when using the magnetic platform.
One more view:
I am linking these up to:
And the Online Card Classes' gallery.
Have a crafty week!
Caroline

Sunday, 21 September 2014

Pop * Slide * Whiz *

You're probably getting a little tired of seeing these birthday candles...
I'm still having fun with them.
Another day, another birthday card!
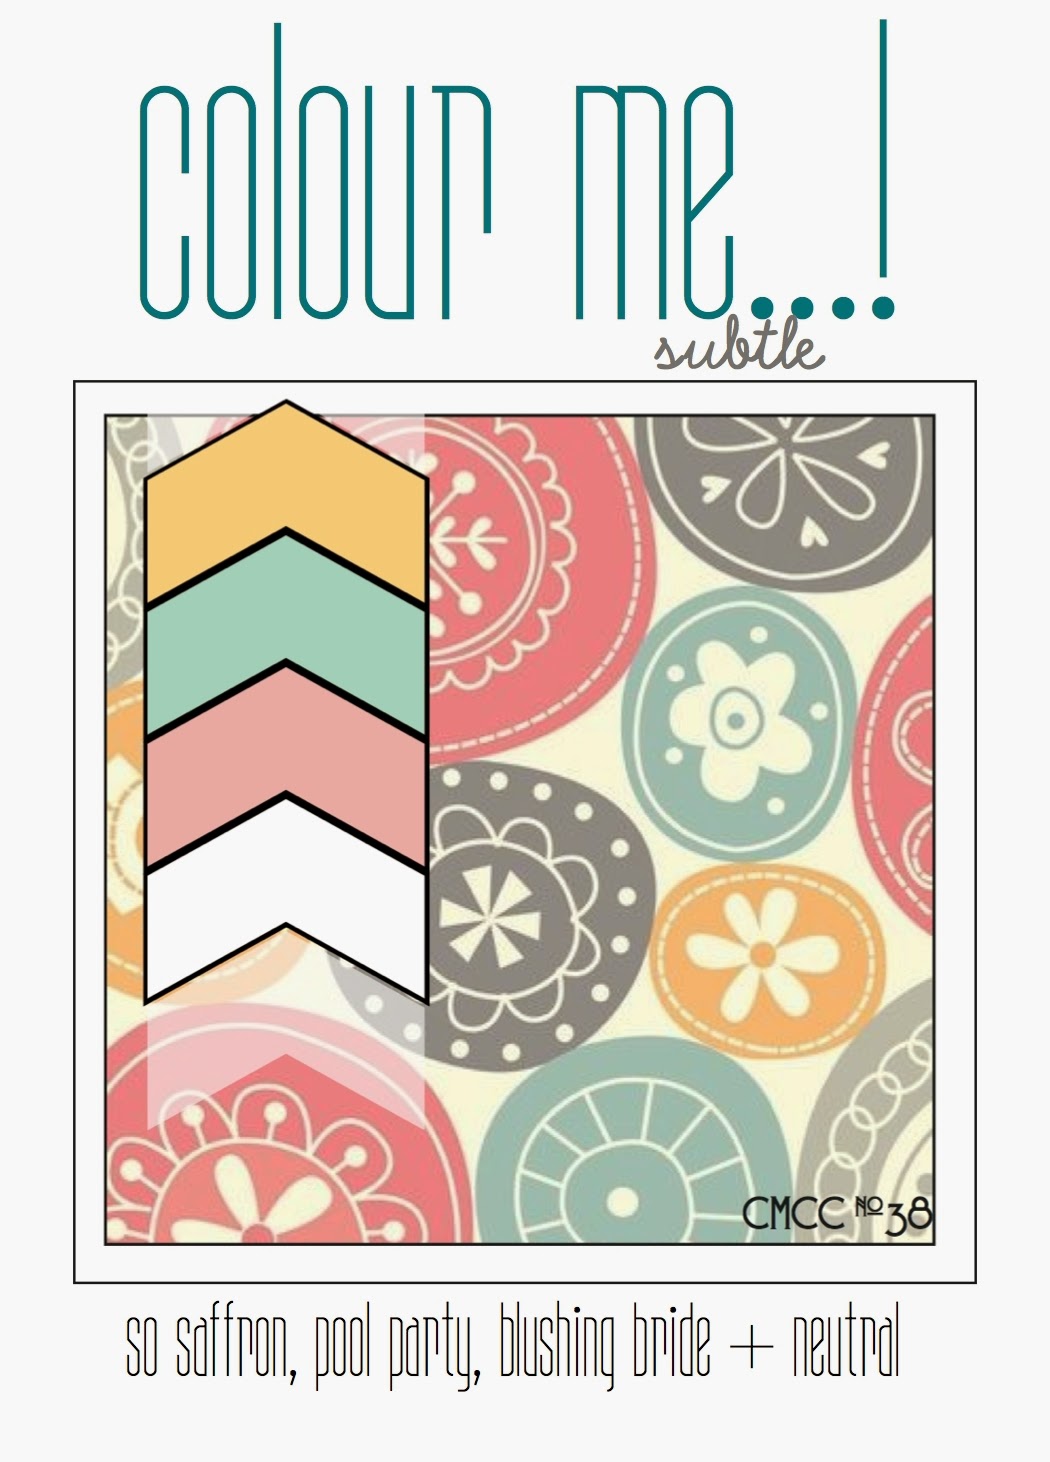
This one features the colours over at Color Me...!
And because it IS a birthday card, I'll be linking it up over at Seize the Birthday 

 (although they're probably VERY tired of seeing my name...), where the topping option is "Sweet Treats."

I also tried out a new technique, and made an interactive pop-up slider card.
An apparently flat card. But see that ribbon at the back?
Pull it, and the message is revealed!
Here's a side-view, showing the easel effect.
Kind of fun!
I stamped The Stamps of Life candles4birthday outlines with grey Memento ink, then filled them in with Distress inks, then added some shading with Copics.
Some tone-on-tone stamping to establish the birthday (cupcake) theme, and a little washi tape for accent.
The card was surprisingly easy to construct. I'll be trying the pop/slide/whiz technique for some more of the birthdays coming up in the next few weeks.
**EDITED**
Here is a LINK which demonstrates how to make the pop-up slider card. Just click on the blue PLAY PRODUCT DEMO button.
Happy crafting,
Caroline

Saturday, 20 September 2014

From "Wallrus.."

The newest Online Card Class starts this coming Monday:
The Pre-class gallery is open, and participants are encouraged to share their work.
I went looking through my blog posts, and couldn't find this card.  I made it in January for one of my nephew's birthdays.  It features a great stamp set from the now defunct "Freshly Squeezed Stamps." It was kind of a build-a-bear set, with the makings for bears, penguins and walruses (if that's the correct plural!).  I had fun making the walruses different, using only three color families of Copics (coz that's all I had!).
I also included a bookmark with this card:
TTFA!
Happy crafting,
Caroline

Supplies:
Paper Smooches bookmark dies and border dies
Fresh Squeezed Stamps
Copic Markers
Memento Tuxedo Black inkpad
Cardstock and alphbet stamps, CTMH
Flower Soft "snow"
Baker's twine

Friday, 19 September 2014

Gilding the ... card!

Still on the birthday card band-wagon...
This one was made for my SIL.  Autumn is such a beautiful time of year for a birthday. Or to get married. Or for anything, I guess. Love the leaves and colours.
Linking up to: Seize the Birthday.

I CASE'd this card from a technique shown on a Paper Wishes webisode (here's the link to the instructions, but the episode is worth watching, too).  I used the same embossing folder and Perfect Pearls Metallic powders.  I inked the raised portion of the folder with the Perfect Medium ink-pad (it works like Versamark--kinda sticky), then ran some brown card-stock through the Big-Shot. This transfers the Medium to the recessed parts of the design. Then I used a dry paint-brush to add Gold, Bronze and Copper Perfect Pearls pigment powder to the design, brushing off the excess. The powder sticks only in the recessed areas, giving a gilded, metallic look to the design. 
Since this is a technique (even if I made up the name!), I'm linking it up to Simon Says Stamp's Monday challenge: Rock the Techniques.
And also linked to a new-to-me challenge, The Mixed Media Card Challenge.  
This is a fun one! Invites you to get really messy... In this case, I added TEXTURE with dry embossing, DIMENSION with die-cuts & embossing powder, and that gilding TECHNIQUE with the pearl pigment powder. Oh, and the challenge this month is to use Autumn Colours.

 Here's a photo taken on more of an angle, to show that beautiful, gleaming effect.
I changed up the rest of the card from the original, adding a gold-embossed sentiment on a separate die-cut label, and then those lovely leaves (Paper Smooches dies--just the right size!) (and a BARGAIN at $4.49). They are cut from hammered gold, holographic mocha and metallic bronze papers.  I added three more leaves to the inside, too.

As the embossing folder wasn't the same size as my A2 card front, I borrowed a trick from Jennifer McGuire, and gold-embossed the top and bottom edges of my card, where the brown panel didn't cover it. Gives some extra glitz and ties in nicely to the elements on the front.
So there you have it, GILD-IT technique, and BDay card #5 of 10 for this season. Come back to see more!

Happy crafting,
Caroline

Supplies:
Products linked above, plus:
Cardstock: chocolate and colonial white card-base, CTMH; 
water color paper for label, bronze metallic paper, Michael's.
Label die and sentiment stamp: Paper Wishes LINK HERE and HERE
gold adhesive nail heads LINK HERE
Ranger gold embossing powder LINK HERE
If I forgot anything, contact me and I'll tell you more...

Thursday, 18 September 2014

Happy Birdday to Ewe...

 Still in the birthday card-making mode.
Here's one I sent to my mum this morning.
She LOVES sheep. Usually stuffed or pictured, vs. running around on the hoof. She does a lot of knitting--not sure if that had anything to do with it.
Anyhoo! 
I purchased this OWH set of cute critters and matching dies back in the summer, with that little sheep in mind for my mom. She attended the Copic certification workshop with me in June, so she'll appreciate the colouring!

Here's the card:
 Water-coloured the background with Distress Ink minis. The sky was sponged on. The grass created by swiping the edge of the inkpad onto the paper, making streaks that were then spritzed with pearlized water to mix and soften them.
I cut apart and mixed the sentiments to create the birthday message, and added a few seagulls to the sky so it made sense!

I sent my mom's birthday gift off earlier (it's the latest book in a fantasy series she follows), so I thought I'd include a book-mark with the card.
This months Simon Says Stamp card kit had just the right ingredients! 

I used my trusty Paper Smooches book-mark die as a base and played around with the papers and stamps from the SSS kit.
Here's the result:
Here's a close-up of the stamped panel. SO MUCH fun to create a bookshelf scene...
And I used the washi tape in the kit as part of the tassel. My mum was a librarian, so she'll love the whole name/date/sign-out thing...
Happy crafting,
Caroline
P.S.:  I'm linking the BDay card up to Seize the Birthday, Anything goes option.


Supplies:
White daisy, Colonial white, Lagoon cardstock, CTMH; Black textured cardstock, Wasau Papers; patterned paper from the SSS kit; water-colour paper, Tim Holtz/Ranger
Hero Arts  "Missing You" stamp set and matching dies
"To thine own shelf be true" stamp set from Simon Says Stamp
Paper Smooches bookmark dies
Stitched rectangle die from Lil' Inker Designs
Ribbon and twine, Michael's
Tuxedo Black Memento Ink pad, Tsuneiko
Distress Ink minis, in Tumbled Glass, Crushed Olive, Forest Moss, Antique Linen, Evergreen Bough: Ranger Industries
Copic markers


Sunday, 7 September 2014

More birthday wishes...

What a happy, crafty day!
There's something about creating that is so satisfying.  Plus I took the dog on an über-long walk, so he is happy, too...
One last card, for two different challenges:
The One-layer Simplicity Challenge theme for September is "It's Hip to be Square."

And Color Me...! has a monochromatic theme of Daffodil yellow plus neutral.
 I went with a square card, and used the giant birthday candles from The Stamps of Life to create a square frame.
The candles are a two-step stamp, using grey (neutral), and I coloured the flames with Copic markers.

Did some doodling to frame it all, and then decided the sentiment in the middle needed a little extra something, so I added some yellow Distress ink (Scattered Straw) over top, with a diagonal stencil from My Favorite Things.
Kinda bright and cheery, and ONLY ONE LAYER (shockers!).

Have a creative week,
Caroline

Seizing the linky frog by the neck...

 Second post: creating a new URL so I can link up this B&W card to
Black & White is the option this week.


 Details on supplies can be found on my previous post HERE
Love The Stamps of Life for simple, graphic images.

TTFN
Caroline

Seizing some Awesomeness...

Enjoying some crafty time, today, and playing with some new supplies.
Here's the design from Freshly Made Sketches this week. Lots of potential with this one!
I purchased this awesome set from My Favorite Things, along with the matching dies; SO cool! They will come in handy for sending "missing you" cards to my three geeky & cheeky boys this year (Amy Tsuruta, you NEED this set!).
Here's what I made:
 
And, another birthday card for Seize the Birthday, this time using the "toppings" option of B&W:
 
Candles4birthdays stamp set from The Stamps of Life.
I thought those polka-dot candles looked awesome in black & white. Like a vintage cartoon. Stamping the sentiment on vellum avoided hiding the flames.
 
Off to enjoy some time outside on this sunny day!
Happy crafting,
Caroline

Supplies:
Awesome card:
Cardstock in Thistle and White Daisy, gold dot washi tape, Smokey Plum ink: CTMH. 
Gold paper: Paper Wishes
Vellum: Michael's
Gold enamel dots: My Mind's Eye
Gold Stickles glitter glue: Ranger.
Happy Birthday card:
White Daisy card-stock, Black Archival ink: CTMH
Black textured card-stock: Wausau Paper
Copic markers: C1, C3, C5,C7; atyouSpica pen
Signo-Uniball silver pen
Vellum: Michael's
foam tape

Friday, 11 July 2014

Newton's Birthday Shaker Card

The latest Newton's Nook Inky Paws challenge was to use these luscious summer colours:
I love the image of the kitty hugging (for how long?) the balloon, from this stamp set:
I thought the challenge colours would make great birthday balloons. I also had some sequins in just the right green, so added those in a shaker-window.

The stripy background was done with water-brushed Gelatos. Which also look good enough to eat...
Check out Newton's Nook Designs for another fun challenge!

Happy weekend,
Caroline

Supplies:
CTMH cardstock: white daisy, strawberry embossed paper fundamentals; water colour paper
Sizzix balloon dies #2
Gelatos: yellow collection
Archival black ink
Copic markers
The Twinery: baker's twine in seafoam and strawberry
Pretty Pink Posh sequins: mossy green
Paper Wishes: Emboss-able acetate

Saturday, 5 April 2014

Happy Birthday...for the Dynamic Duos #97

Good morning, peeps!
It's bold and cheery week at the Dynamic Duos.
Here are your colours to play with:
They seemed to call for a celebration, so I made a birthday card for my youngest sister (it's okay, she doesn't read my blog!) using a technique I've been seeing, overlapping inlaid die-cuts. 
See Amy Kolling's cute card HERE, for an example and method.
I used scraps of cardstock and patterned paper in the challenge colours, cutting out circles consecutively from my white base panel, and subbing in the matching sized PP circles. Kind of a fun bubbly look!
The sentiment is embossed on a white-dotted vellum flag. I used dye-ink and clear embossing powder, but the pink colour "cooked" in the heat and didn't match the rest of the card anymore! I salvaged it by going over the letters with a bright pink alcohol marker. A few sequins finish off the card.
Check out the cards from the design team at the Dynamic Duos' blog.
Get inky and show us your stuff! We love to see what you create.
Happy crafting,
Caroline
Supplies:
Cardstock in White Daisy, Bubblegum and Lagoon (CTMH); dotted vellum (Paper Wishes)
Ink: Bubblegum and Lagoon; pink Spectrum Noir marker
Dies: Spellbinders small circle dies set.