

Its been a few busy months, but I'm back in the blog-o-sphere, happy to be participating in the
Cross Canada blog hop featuring Succulents and Flowers using Close to My Heart products.
We hope that you will take some time to leave comments on our posts, as we love to get feedback from our viewers....whether it was something that you really liked or a new technique that you would like to see demonstrated....by telling use what you like, we can provide what you want to see.
Thank you… now on to our hop!
If you have just just come across my blog, you can start here as this is a circular hop, but if you want to follow us across Canada then please start at the beginning and join Michelle S at My Creations with Michelle. The full list of participants and links will be featured on her blog.
For my project, I'm showcasing the beautiful Poppies from the new "Flower Market" Cricut cartridge. Each key on this cartridge features a different flower with coordinating items. On this key, shown on page 45, there is a dimensional poppy, a wreath and vase, as well as a ribbon and title. But I've chosen the layered poppy. I used it to accent a pocket-page on my scrap-booking layout of November activities, which included Remembrance Day. Perfect! It would also make a lovely focal image for a sympathy card.


There are four layers to the poppy, and I marked my Cricut booklet to help me remember the cutting details the next time I use this key. Choose the size for the finished item, in this case 5.0" lengthwise to fit the PML card, and all layers will be cut proportionately.
 To save time, I placed all four colours of card-stock on the cutting mat at once.

 |
| Four layers, with cut-key indicated |
- You will want to cut the base layer (marked Background/SHIFT) from green card-stock, as this includes the stems and the centre of the flowers.
- The next layer, the more solid images (non-shift) from Flower-1 and Flower-2, is cut from black card-stock.
- You will want to cut the SHIFT image for Flower-1 and Flower-2 from a lighter colour of red card-stock--Poppy, naturally! After cutting, I chose to add some shading to the layers with alcohol markers, for even more dimension (illustrated in later photo).
- The final layer, Icon, both with and without SHIFT, is cut from a coordinating darker shade of card-stock, in this case, Ruby.
 |
| All pieces cut out |
 |
| Dimension added by shading stems and flower edges with alcohol markers. |
 |
| Black flower centres glued to green base. |
- All layers were adhered with a broad-tip glue pen.
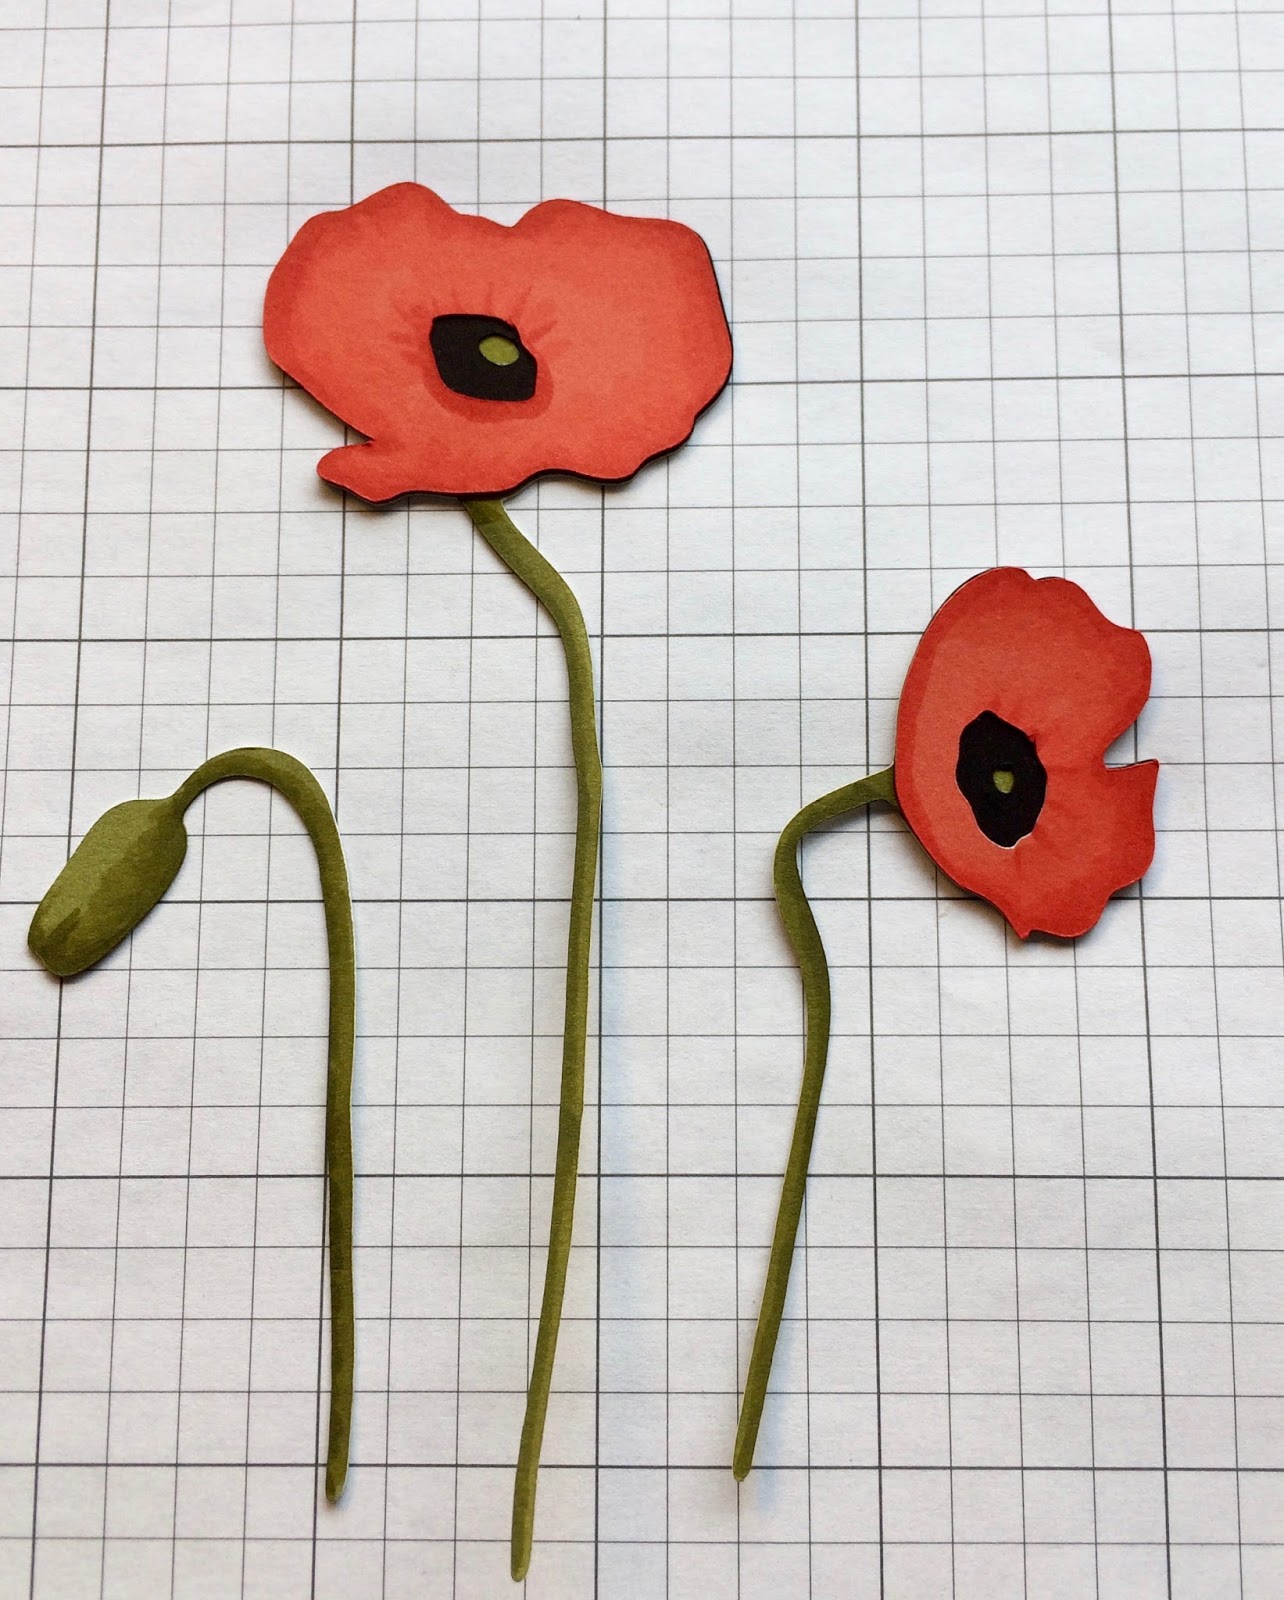 | |
| Lighter coloured flower layer on top of black. Love how the spaces reveal the centre of the flowers! |
 |
| Final darker card-stock layer added. |
For the pocket-page layout, I placed the completed image on a red background (4"x6" piece of Cranberry cardstock) to compliment my photos, and added a torn base of black card-stock for the soil. The corners of the card were rounded to match the other PML cards in the lay-out.
I used the sample pieces created here to make a "thinking of you" card.

Your next stop on the Cross Canada Hop is Diana, at Farmer Di Stamps.
If you get lost along the way, you can head back to Michelle S's blog, http://mycreationswithmichelle.blogspot.ca, as she has the complete blog list.
Thanks for hopping along with us - we hope we were able to inspire you to get creative using some of the designs products and techniques seen along the way. And join us next month; we'll be featuring projects using the French and Spanish language stamps now available from Close to My Heart.
Mark March 15th on your calendars!
To purchase any of the items seen in our blog hop today, contact your local CTMH consultant.
Happy crafting!
Caroline
Card stock: Fern, Black, Poppy, Ruby, Cranberry, Whisper, White Daisy
Vellum
Ink: Archival Black
Embossing folder: wood slats Z3248
Ribbon: slate
Stamp: Happy to be Friends C1605
Cricut: Flower Market cartridge Z3290
Corner-rounder punch Z1912
Happy crafting!
Caroline
Supplies used:
All supplies Close to My Heart, except Copic alcohol markers.Card stock: Fern, Black, Poppy, Ruby, Cranberry, Whisper, White Daisy
Vellum
Ink: Archival Black
Embossing folder: wood slats Z3248
Ribbon: slate
Stamp: Happy to be Friends C1605
Cricut: Flower Market cartridge Z3290
Corner-rounder punch Z1912


