Showing posts with label interactive cards. Show all posts

Sunday, 21 September 2014

Pop * Slide * Whiz *

You're probably getting a little tired of seeing these birthday candles...
I'm still having fun with them.
Another day, another birthday card!
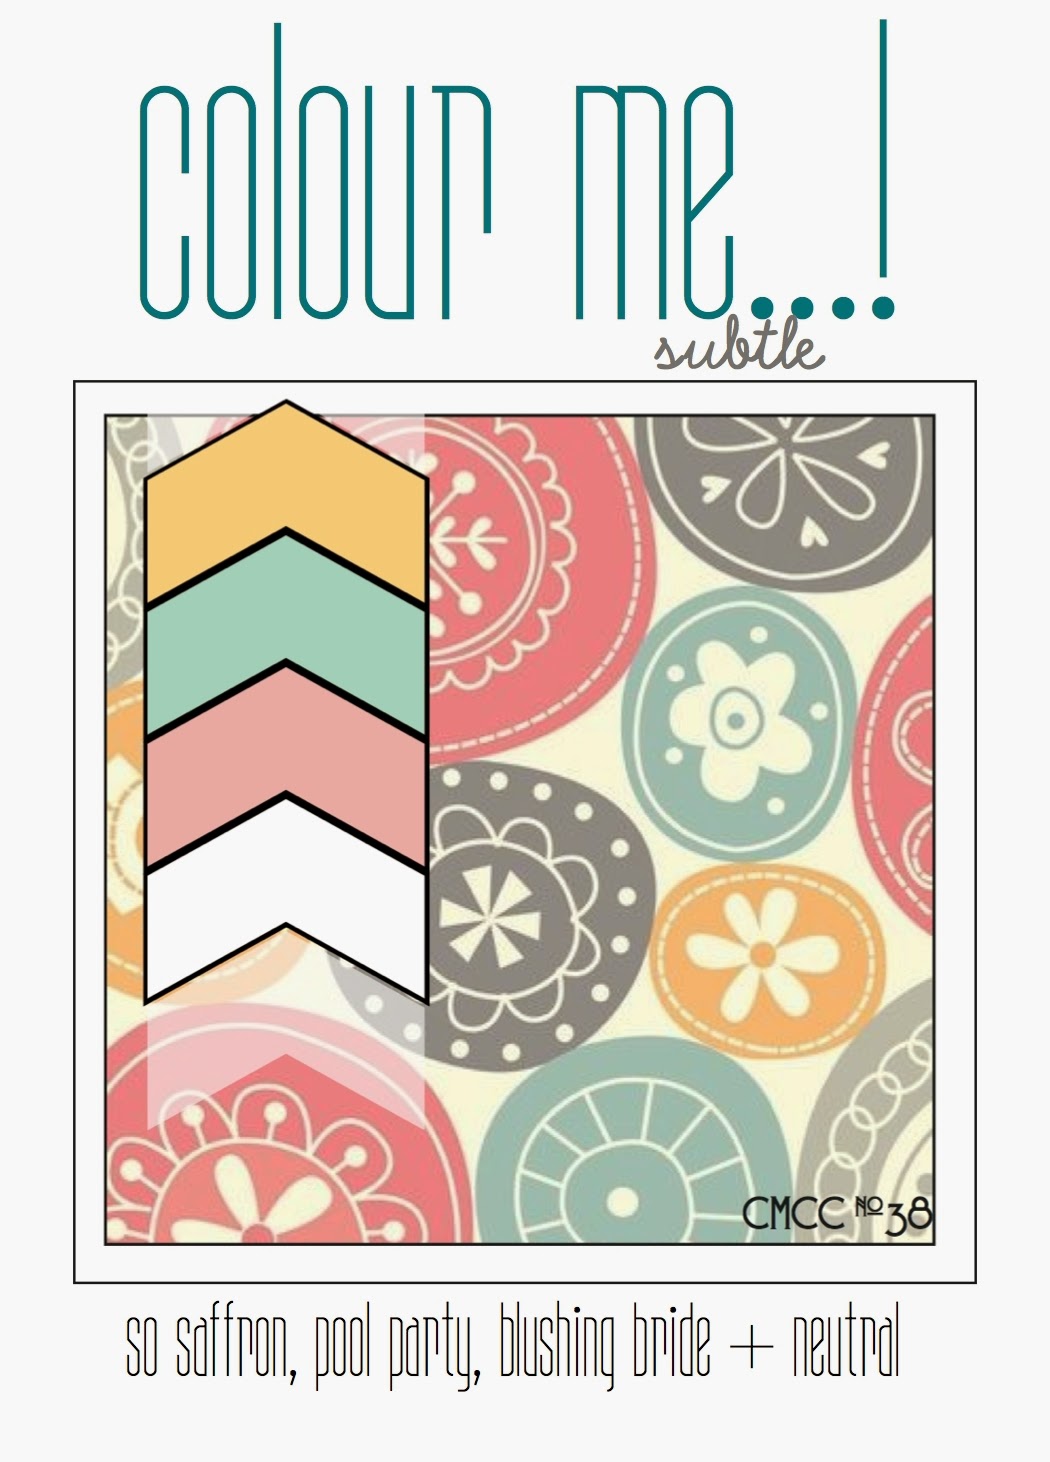
This one features the colours over at Color Me...!
And because it IS a birthday card, I'll be linking it up over at Seize the Birthday 

 (although they're probably VERY tired of seeing my name...), where the topping option is "Sweet Treats."

I also tried out a new technique, and made an interactive pop-up slider card.
An apparently flat card. But see that ribbon at the back?
Pull it, and the message is revealed!
Here's a side-view, showing the easel effect.
Kind of fun!
I stamped The Stamps of Life candles4birthday outlines with grey Memento ink, then filled them in with Distress inks, then added some shading with Copics.
Some tone-on-tone stamping to establish the birthday (cupcake) theme, and a little washi tape for accent.
The card was surprisingly easy to construct. I'll be trying the pop/slide/whiz technique for some more of the birthdays coming up in the next few weeks.
**EDITED**
Here is a LINK which demonstrates how to make the pop-up slider card. Just click on the blue PLAY PRODUCT DEMO button.
Happy crafting,
Caroline

Monday, 11 November 2013

Quick "Holiday Card Workshop" Post

"It's the most wonderful time...of the year!"
Yup, time for another edition of Online Card Classes Holiday Card Workshop. It's my third year attending. Last year my sister and I had fun, setting up a Skype crafting session, to do our "homework" together (she lives in Amsterdam, so we had to time it carefully!). I read that one participant has taken the whole week off work so she can stay home and create! Lucky!
Anyway, the idea is to try the techniques and projects demonstrated and share them.
Here's my take on a Z-fold card by Jennifer McGuire:
The banner is cut to appear as one piece when the card is closed.
But when its opened, the message is continued on the inside:
I liked the look of the white pigment ink on coloured card stock. I embossed my tree and used some star-shaped sequins; the original was embellished with a cute die-cut of Xmas lights. Stamps are a mixture of Paper Smooches (sentiment) and Close to My Heart (background stamp).
That's it for tonight--watch for some more cards later this week.
Happy Crafting!
Caroline

Wednesday, 16 January 2013

The NAME frame...featuring SUPER-CAL!

I saw this UBER-cute idea on on Amy's blog (see original post, HERE) for a name-frame she created for her daughter. She's been making them again recently for some new nieces and nephews. HERE is a link to Jayme's' blog, where Amy first saw the frame idea, which gives some instructions and  measurements.

Anyway! My nephew just turned seven (a SUPER age) and his parents threw a wonderful, super-hero theme party, complete with decorate-your-own capes, shooting villains with silly string, obstacle courses and a hot-lava dance (musical chairs, Gangnam-style!). So a super-hero name-frame seemed just the thing!

I used all kinds of goodies from CTMH's Superhero paper pack, along with some double-stick THICKERs letters, and Martha Stewart glitter.
Great glitter and dimension with the THICKER letters.
He also received a matching birthday card, with a slide-up feature, which I constructed according to instructions on a Paper Wishes webisode on making cards with moveable parts (see the video HERE, and make sure to check the link to the Ribbon Slider Treat Pocket card).
Paper rosette trimmed into a POW! starburst shape
LOVE that Gotham-city sky-line stamp!

For the moveable part, you undo the ribbon at the top, and tug on one end, which pulls up a photo of:  SUPER-Cal!
(I tried to hide his face--sort of unsuccessfully--I know there are photo-editing programs out there that allow you to pixilate--any suggestions welcome!). There was also a secret enclosure on the back of the card, with a nice new PLASTIC Canadian $20 bill.

It all made for one happy superhero and a happy aunt, too.

Happy crafting,
Caroline

Tuesday, 11 September 2012

Go Big...


The challenge this week at Heart2Heart is to create something really BIG--a bigger than usual card, that is (bigger than the standard 4.25 x 5.5 inches), using some Close to My Heart supplies.

I was asked to make a thank-you card for a benefactor at the Rehabilitation Centre where I work as a speech-language pathologist. He very generously donated two iPads to our program, which patients can use for a variety of things: for face-to-face communication when speech is no longer possible, for independent practice on therapy programs such as reading and word-finding, as external memory aids for those with acquired brain injury--the applications are almost endless and the gift truly appreciated!
Sooo...I decided to create a thank-you card in the shape of an iPad.
It is real size, that is 9.5 x 7.5 inches. I made an easel card, so it will stand up, like an iPad. I used a piece of page-protector cut to the size of the "screen," and used stamped images from "Its Your Day"(this month's constant campaign item--see tab at top for details on how you can acquire this double-stamp set for $5!) as icons.
Inside is lots of space for the therapists and staff to sign, and I used two quotation marks popped up with foam tape to form ledges to hold the card upright.
The thank-you ceremony is next week--hope it goes over well!
Why not pop over to Heart2Heart and link up your creation? This challenge is open all month. 

Happy Crafting!
Caroline

Tuesday, 15 November 2011

Never-ending Card

My nephew, Cameron, 14, is a gadget-guy. For his birthday, I thought he'd get a kick out of an "engineered card." The original design was created by Teresa Welch, who designs for Hot Off The Press http://www.paperwishes.com/, and can be found on her Amazing Folded Cards DVD. You can see a tutorial on how to cut and fold the card by visiting the PaperWishes site, and looking up the Webisode for May 16, 2011, entitled Amazing Folded Card-making (or use this link) http://www.paperwishes.com/webisodes/?id=347. I should have reviewed this before starting my card, as I got a little ahead of myself, and goofed on the orientation of the lettering on one of the faces... ;$


I used the Steam-punk papers and Dazzle-stickers from PaperWishes (lots of gears, metals and Victoriana), and letter and sentiment stamps from Close to My Heart.  He loved it, and the enclosed $$ towards purchase of a new cymbal (he's an awesome drummer). And the adults at the birthday celebration couldn't stop playing with it!  Try it for yourself!